
Easy Grilled Pears
This post contains affiliate links. As an Amazon Associate I earn from qualifying purchases.
Easy grilled pears are a versatile option which can be used in desserts or savory salads. My sister has a pear tree in her garden and gives me some of the fruit, so I often have pears sitting on the counter waiting to ripen. They can remain stubbornly hard for days, then become ripe surprisingly fast!
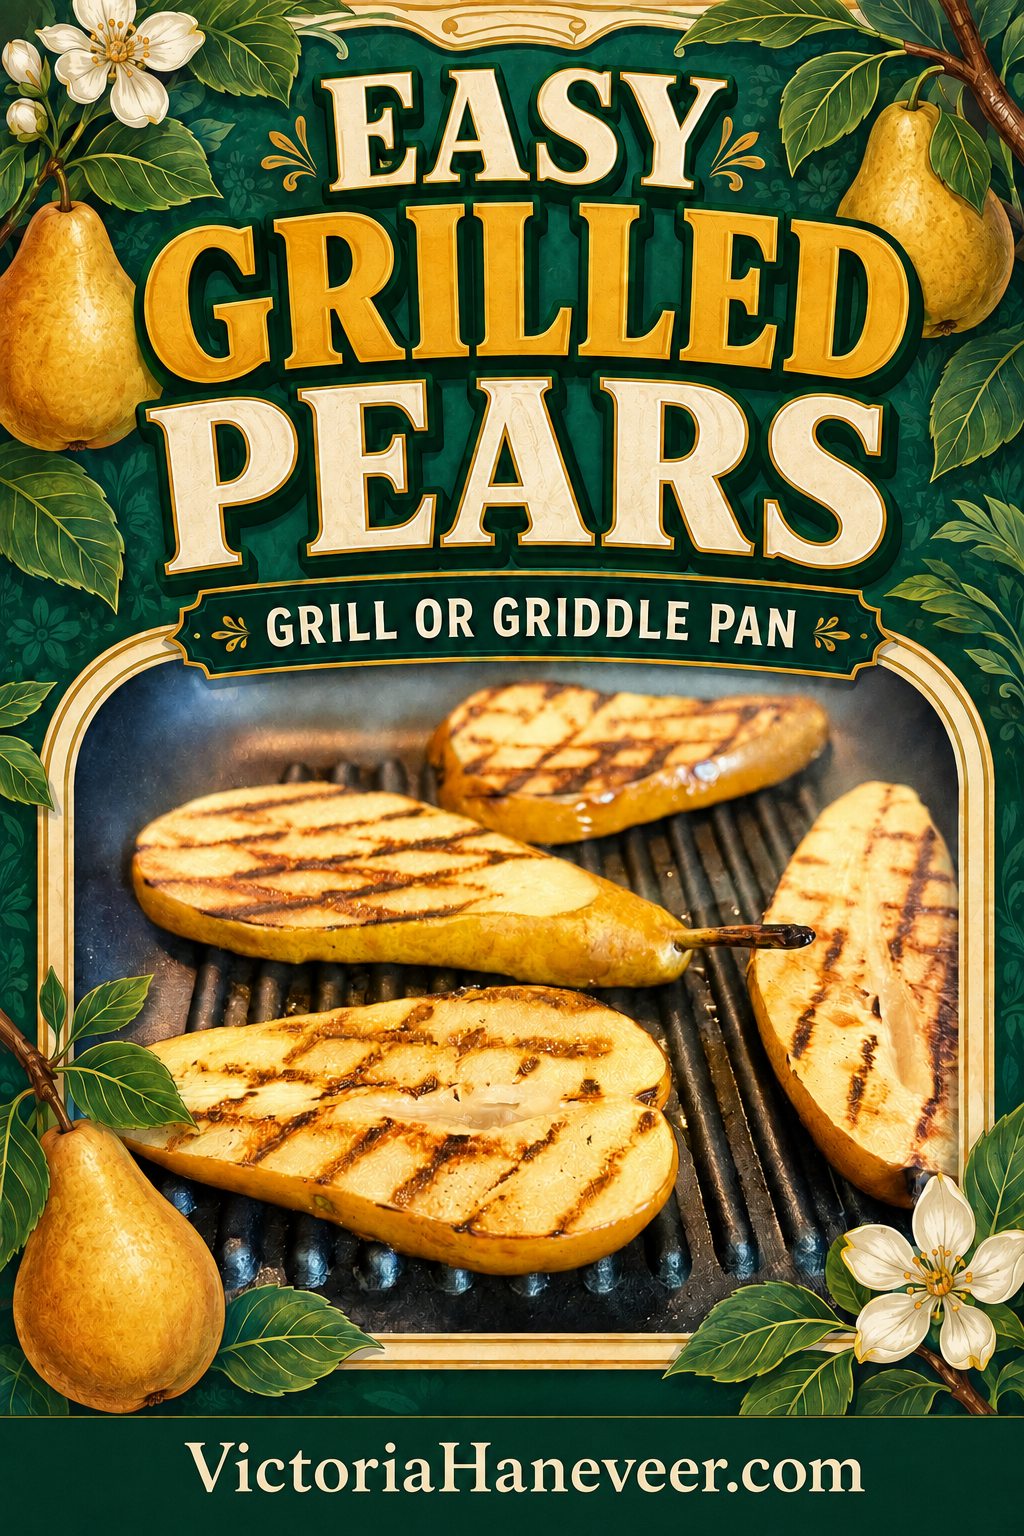
That is how this grilled pear recipe came about. The pear I used was still rock hard, so I simmered the slices briefly before cooking them in a ridged griddle pan. They softened nicely but were still firm enough to turn using tongs.
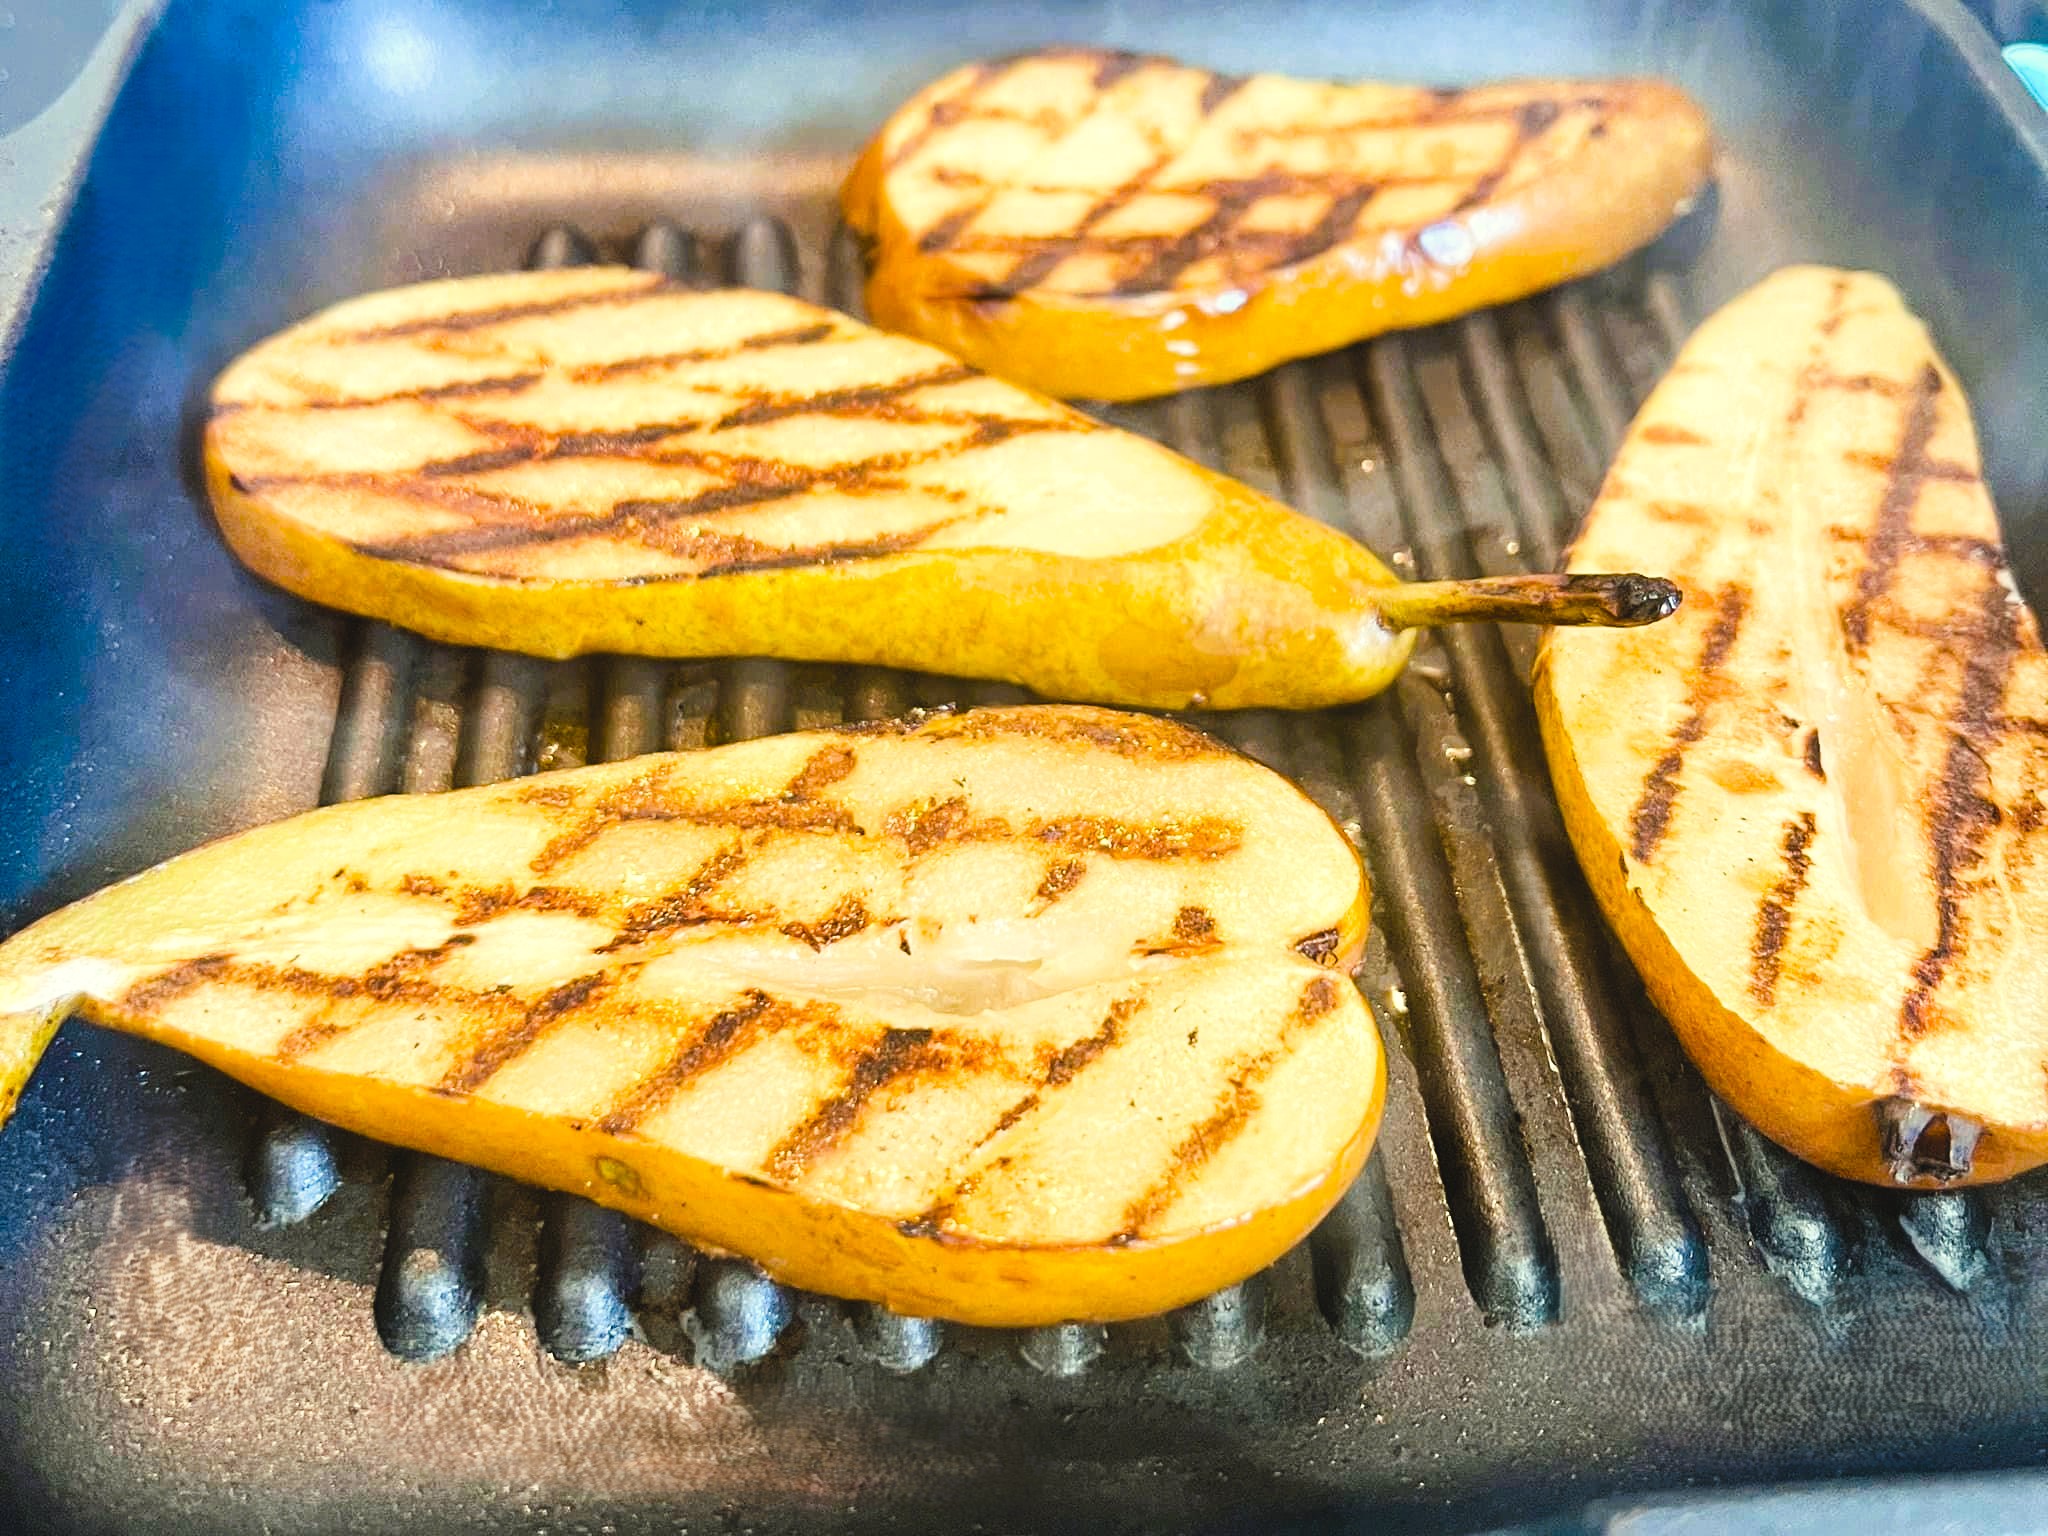
Grilled pears have a concentrated sweetness and distinctive dark marks from the hot ridges. You can serve them as part of a savory salad, pair them with cheese or enjoy them warm with ice cream for dessert. My favorite is pairing them with cheese (blue cheese goes really well!) and enjoying them as a salad, but serving them with ice cream or whipped cream also has its merits.
Easy Grilled Pears at a Glance
- Prep time: 5 minutes
- Cook time: 8 minutes, plus optional simmering time for a very hard pear
- Total time: 13 minutes, plus optional simmering time
- Servings: 2
- Cuisine: Not cuisine-specific
- Main ingredients: Pear and nonstick cooking spray
- Best cooking method: Ridged griddle pan or outdoor grill
- Storage: Refrigerate in a covered container for up to 2 days
What I Love About the Recipe
- Just 2 ingredients: The recipe needs only a pear and enough cooking spray to prevent sticking.
- Can use unripe pears: A very hard pear can be softened before griddling, so you don’t have to wait for it to ripen fully.
- Pick your method: The recipe works on a stovetop griddle pan or an outdoor grill.
- Versatile dish: The finished pears suit sweet and savory dishes.
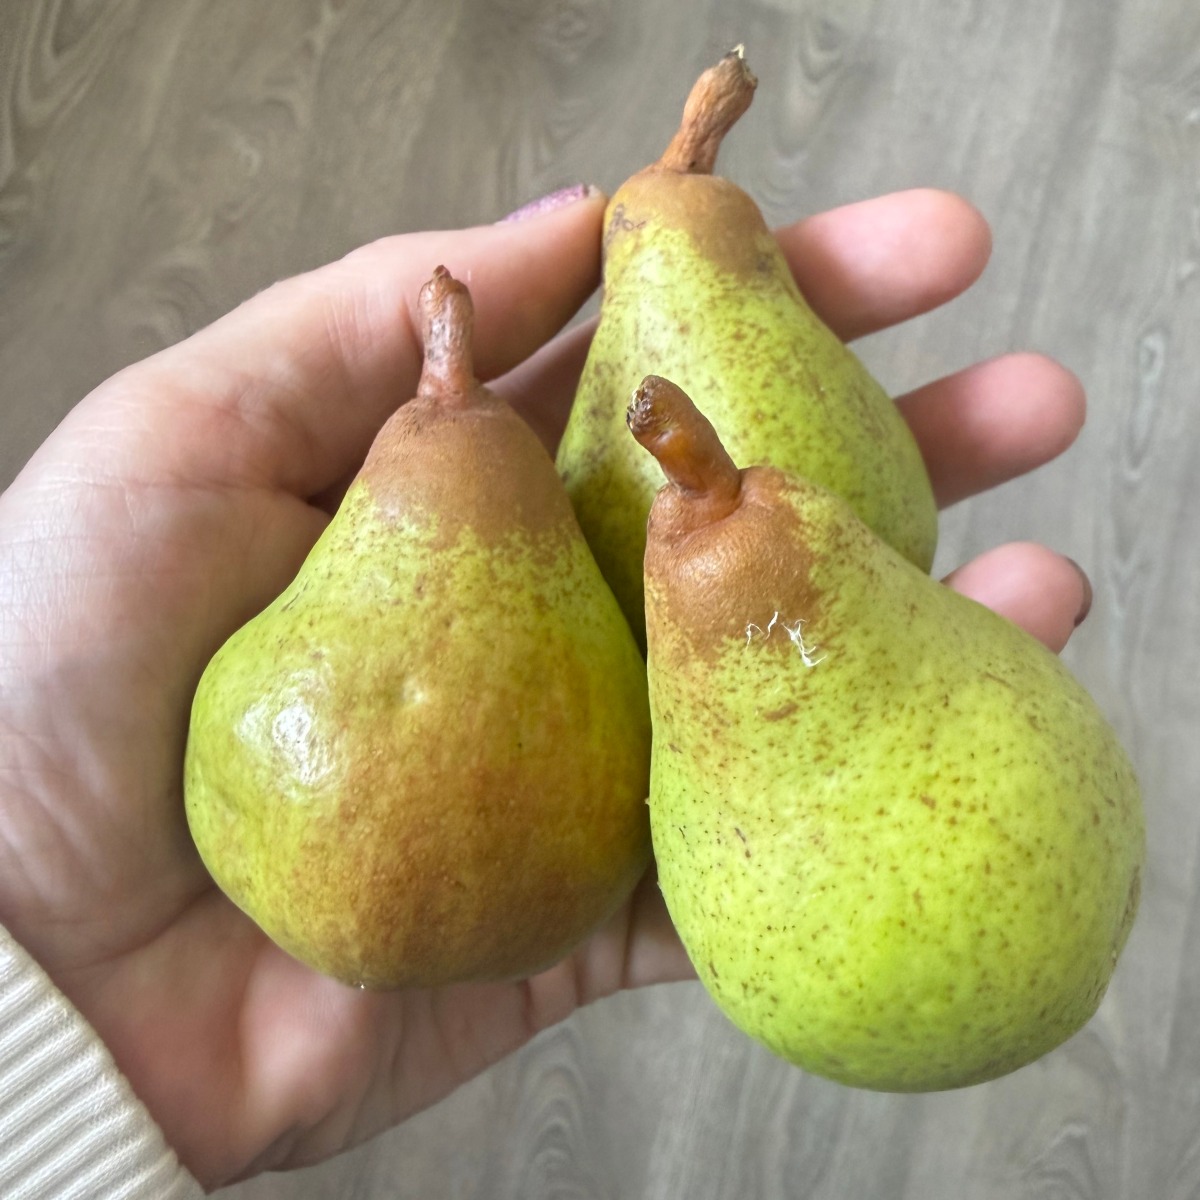
Griddled Pears Ingredients
- Pear: Choose a pear that’s firm enough to slice and turn without breaking. I used a Conference pear for my first attempt and they came out really well and didn’t fall apart when flipping them over. Bartlett pears can also be grilled, although they can be delicate when fully ripe.
- Nonstick cooking spray: This coats the cooking surface and helps the pear slices release once the marks have developed. I used whatever I had in the kitchen at the time, probably Frylight.
How to Make Grilled Pears
Cut the pear into thick lengthwise slices and remove the seeds. If the fruit’s extremely hard, I recommend that you simmer the slices until the point of a knife enters with little resistance. Drain them thoroughly before placing them in a hot, greased griddle pan.
Leave the slices in place until dark marks appear, then turn them with tongs. The ones I moved a bit too early didn’t end up with those gorgeous neat grill marks.
Grilled Pears or Griddled Pears?
Grilled pears is the usual American term whether they’re cooked outdoors or in a ridged grill pan on the stove. In British English, pears cooked in a ridged stovetop pan are more accurately called griddled pears. A British grill is what Americans call a broiler.
I cooked mine in a stovetop griddle pan. The same recipe can be prepared on an outdoor grill as long you slice them thick enough not to fall through the grate. If you need a suitable pan, this ridged cast iron grill pan is designed for stovetop and outdoor use.
Can You Grill Unripe Pears?
Yes. The pear I used had no give at all, so I cut it into six lengthwise slices and simmered them in water for a few minutes. They were ready for the griddle pan when I could pierce the thickest part with a sharp knife without much resistance.
It’s really important to drain the slices well before griddling them. Leaving excess water can prevent browning and encourage them to stick to the pan. Pears that are only slightly firm don’t need to be simmered first because they tenderize when cooked.
I’d avoid very ripe or overripe pears. Their softer flesh can break when you try to turn the slices. Those pears are better suited to smoothies, couscous with stewed fruit or pear sauce.
Tips for Clear Griddle Marks
- Let the griddle pan become hot before adding the pear.
- Drain and dry pre-simmered slices thoroughly.
- Cut reasonably thick slices that are easy to handle with tongs.
- Leave each slice undisturbed until marks develop.
- Rotate the slices 90 degrees if you want a crisscross pattern.
- Check the texture as well as the marks. The fruit should be tender enough to pierce.
What to Serve With Grilled Pears
I served mine as part of a salad with a walnut-coated goat cheese log, romaine and sliced strawberries. Since the cheese already had a walnut coating, I didn’t add more nuts to the salad. Candied walnuts would be a good addition though, if you’re serving plain cheese. I don’t know why the colors are like that but here’s what it looked like anyway:
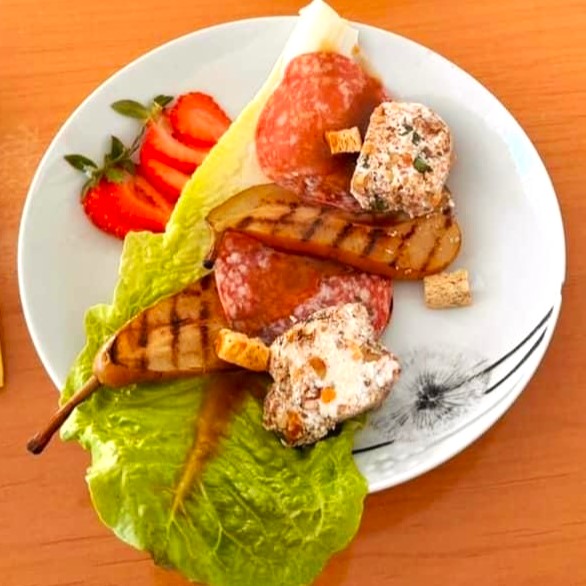
Blue cheese is another natural partner for pears. For a heartier cheese dish, try pears with Stilton and curd cheese.
For dessert, serve the pears warm with vanilla ice cream, whipped cream or mascarpone. You can add honey or cinnamon if you want a sweeter finish. They also work as a cheesecake topping or with oatmeal, yogurt and granola.
How to Store
Let leftover grilled pears cool, then place them in a covered container and refrigerate them for up to 2 days. You can eat them cold in a salad or warm them gently in a griddle pan or skillet.
You can prepare the pears ahead for a cold dish, although the texture is best shortly after cooking. I don’t recommend freezing them because thawed fruit is likely to become watery and overly soft.
Easy Grilled Pears FAQs
No. The skin helps the slices hold their shape and can be left in place. I always wash and dry the pear before slicing it, as the skin stays on and we have a lot of seagulls flying overhead!
Yes. A regular skillet will cook and brown the pears, although it won’t produce the ridged lines associated with grilled or griddled pears.
The pan might not be hot enough, the slices may be wet or they may have been moved before the surface had cooked and formed a crust in the form of grill marks. Grease the pan, dry the pear and allow the marks to develop before attempting to flip.
This recipe was tested with thick slices rather than halves. Pear halves would need a different cooking time, so check them with a sharp knife rather than relying on the timing given here. My latest haul from my sister’s pear tree is all small ones, so I’m going to try that next!
I haven’t tested this recipe with honey added before cooking. For predictable results, prepare the pears as written and drizzle honey over them after they leave the griddle pan.
A Simple Way to Use Extra Pears
Griddling gives firm pears a softer texture and attractive dark lines while keeping the recipe really simple. Serve them with cheese for an appetizer or add ice cream for an easy fruit dessert. If you’re in the mood for something richer, try a crème brûlée.
For more ways to combine sweet and savory ingredients, you might also enjoy my Old Bay shrimp and apple salad or orange and avocado salad.
Easy Grilled Pears
Ingredients
- 1 pear
- nonstick cooking spray (as needed)
Method
- Cut the pear into 4 to 6 thick lengthwise slices. Use the tip of a knife to remove the seeds.
- If the pear is very hard, simmer the slices in water for a few minutes or until you can pierce the thickest part with the tip of a sharp knife without much resistance. Drain them thoroughly.
- Grease a ridged griddle pan or skillet with nonstick cooking spray and heat it on the stove.
- Add the pear slices with tongs. Let them cook for a couple of minutes, then turn them and cook the other side.
- Rotate the slices 90 degrees and continue cooking if you want a crisscross pattern. Skip this step if you prefer straight griddle marks.
- When the marks are dark and the pears are tender when pierced, remove them from the pan. Serve the pears warm with ice cream or whipped cream. Let them cool for a salad, cheese plate, oatmeal or granola parfait.
Notes
- The exact cooking time depends how hard or ripe your pears are and the time above doesn’t include the simmering time for unripe pears.
- You can remove the stem and base before cooking. I left mine attached because I liked how they looked.
- Keep leftovers in a covered container in the refrigerator and use them within 2 days.

I had more pears on my pear tree than I could use so thank you this is my new favourite way to make them.
That’s great to know! It’s probably my favorite way to make them too and so easy.